

Technical Knowledge & Industry Blog
Stay informed with technical insights, testing standards, and environmental chamber innovations from SFTYE Equipment Co., Ltd.
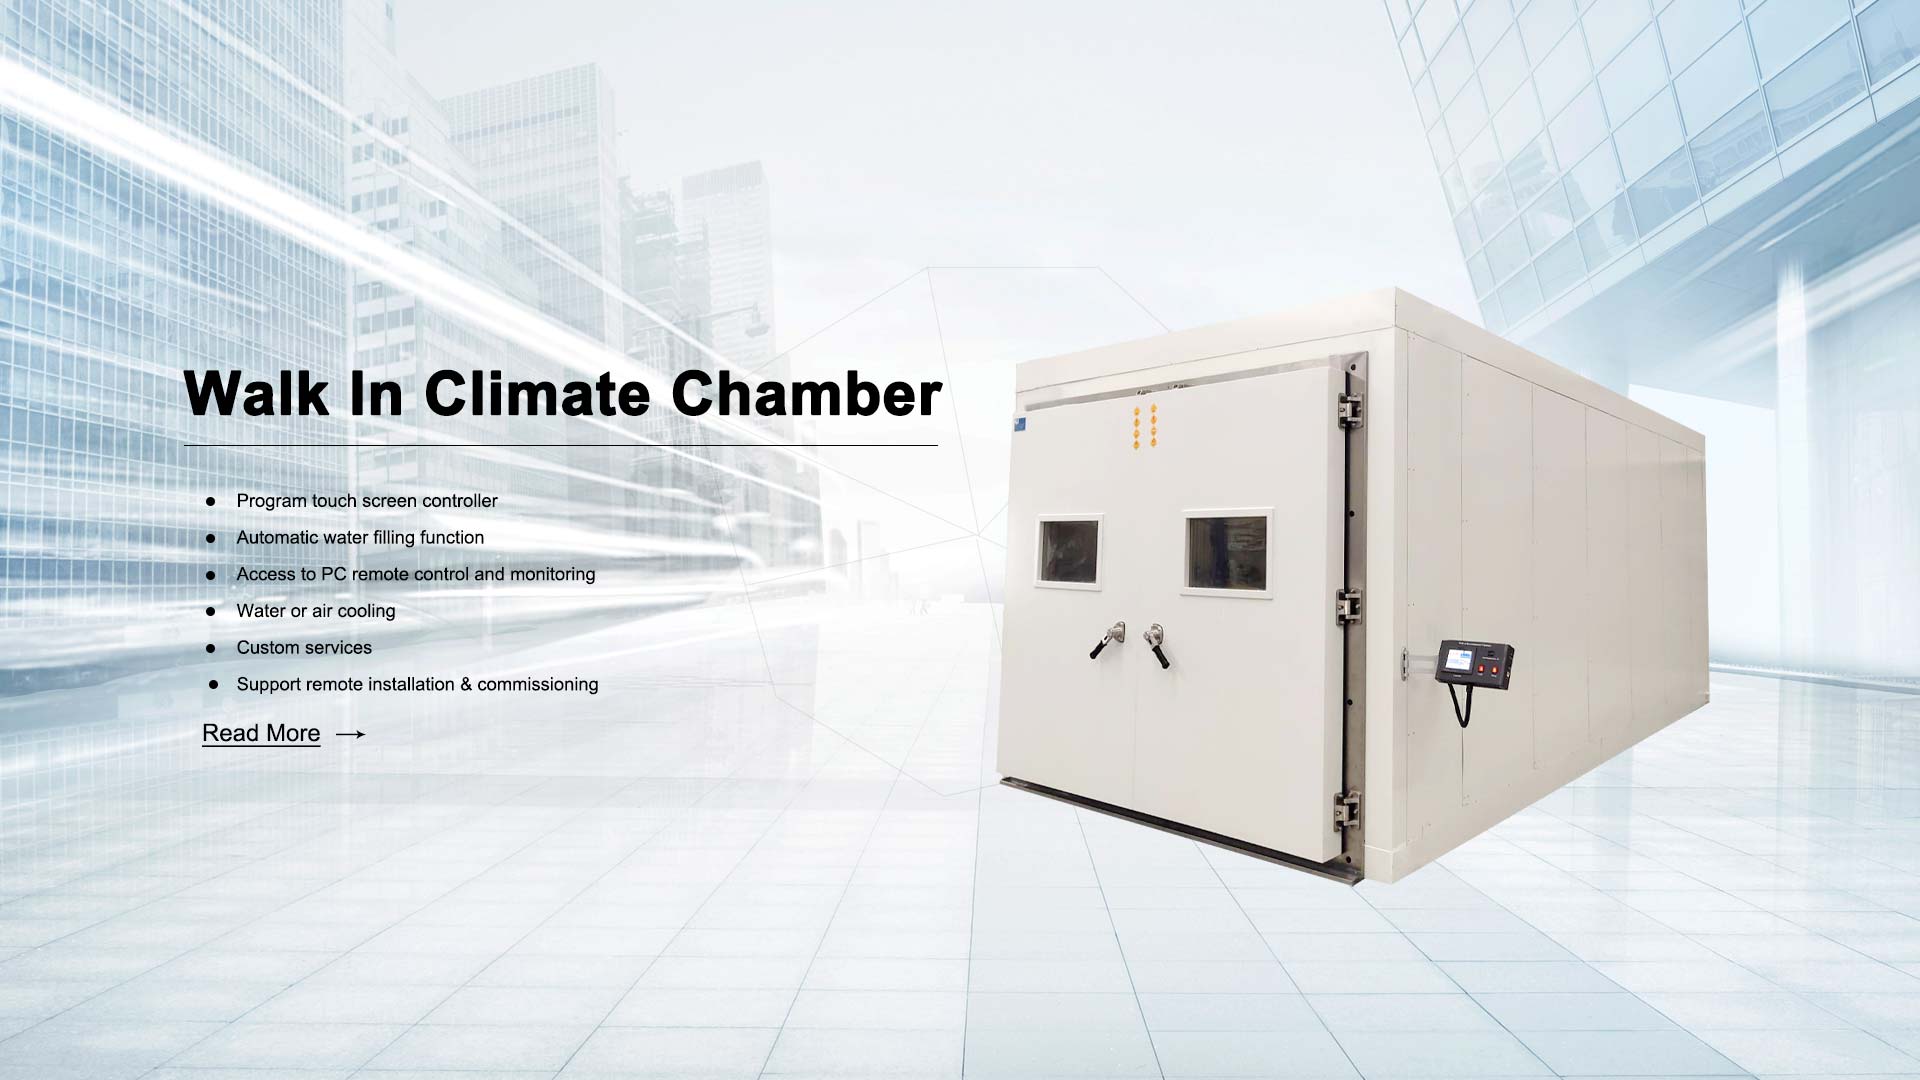
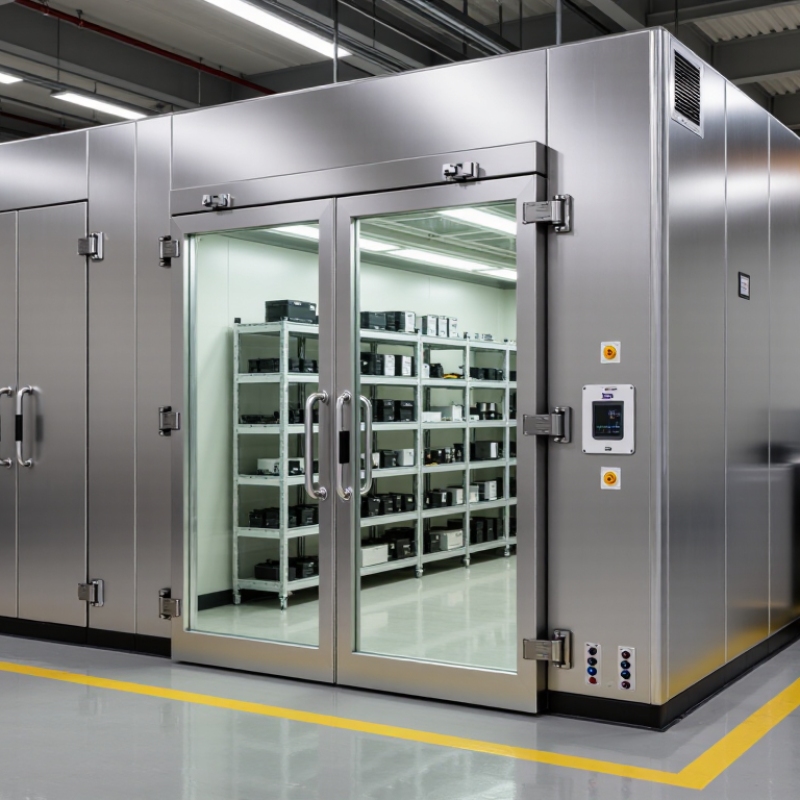
Choosing a Walk-In Climate Test Chamber is a technical decision, not merely a purchasing exercise. The chamber must reproduce temperature, humidity, airflow, and operational conditions consistently. It should also fit your products, facility, testing schedule, and future capacity.
Dr. Michael P. Redmond, a climate-testing specialist with experience in environmental simulation systems, advises, “A chamber should be selected around the test, not around the brochure.” This principle deserves attention. A large chamber may look impressive, yet it can waste energy when your samples occupy only a small area. A compact design may reduce costs, but it could restrict airflow, loading access, or future production needs.
Look closely at temperature range, humidity control, ramp rates, uniformity, and recovery time. Ask how the chamber performs after a large door opens. That detail matters. Examine the floor loading, internal dimensions, lighting, observation windows, and service access. Your operators will notice these features every day.
Energy consumption also deserves careful review. Variable-speed refrigeration, efficient insulation, and heat recovery may reduce long-term operating costs. However, efficiency claims need supporting test data. Marketing language is not enough.
Consider calibration, data logging, alarms, remote monitoring, and maintenance support. A chamber that cannot be serviced quickly may interrupt valuable testing. Supplier experience matters, especially for unusual product sizes or complex test profiles.
No selection is perfect. I have seen teams prioritize purchase price and regret weak recovery performance later. A better approach compares lifecycle cost, test reliability, safety features, and technical support. The right Walk-In Climate Test Chamber should support dependable results without creating unnecessary operational complications.
Define the Testing Goals and Environmental Conditions
How to Choose a Walk In Climate Test Chamber?
Define the Testing Goals and Environmental Conditions
Start with the product’s real service conditions, not the chamber’s maximum specifications. Identify temperature, humidity, altitude, light exposure, vibration, and test duration. A battery module may require cycling between -40°C and 85°C, while food packaging may need narrower limits and high humidity. The World Meteorological Organization reported that 2023 was approximately 1.45°C above the pre-industrial average. Such data shows why environmental margins deserve careful review. However, outdoor climate data does not automatically define an accelerated laboratory test. Use applicable methods, such as IEC 60068 environmental testing guidance, and document every assumption.
Testing goals must also be measurable. Decide whether the chamber will support qualification, design improvement, failure analysis, or production screening. The 2024 Global EV Outlook reported that electric-car battery demand exceeded 750 GWh in 2023, increasing pressure for repeatable thermal testing. A walk-in chamber should therefore control recovery time, uniformity, ramp rate, and sensor placement. A large interior is not always better. Empty space can increase conditioning time and energy use.
Tips: Build a condition matrix before requesting quotations. Include target values, tolerances, ramp rates, load mass, and exposure time. Leave realistic clearance around products and record heat generated during operation. Add safety limits for pressure, gases, and electrical equipment. Recheck the harshest condition; it may be based on an assumption, not field evidence. That assumption could be wrong.
How to Choose a Walk In Climate Test Chamber? - Define the Testing Goals and Environmental Conditions
| Testing Goal | Environmental Conditions | Key Chamber Requirements | Typical Selection Benchmark | Relevant Test Methods | Selection Notes |
|---|---|---|---|---|---|
| Low-Temperature Storage | Constant exposure to cold air, typically from 0°C to −40°C or lower. | Temperature control, insulated walk-in construction, low-temperature refrigeration, and protection against condensation during recovery. | Choose a chamber rated at least 10°C colder than the required test setpoint to provide operating margin. | IEC 60068-2-1 | Confirm whether the product must operate while cold or only remain stored at the target temperature. |
| High-Temperature Storage or Operation | Constant exposure commonly between +40°C and +85°C; some products require higher temperatures. | Heating capacity, airflow distribution, over-temperature protection, and materials suitable for elevated temperatures. | Select a maximum temperature at least 10°C above the highest required test condition. | IEC 60068-2-2 | Evaluate the heat generated by the test samples because internal product heat can reduce chamber capacity. |
| Steady-State Damp Heat | High relative humidity at a constant temperature, commonly 40°C at 93% RH or 85°C at 85% RH. | Humidity control, steam or water vapor generation, dehumidification, corrosion-resistant interior, and condensate management. | Humidity control from approximately 20% RH to 95% RH over a suitable temperature range. | IEC 60068-2-78 | The achievable humidity range depends on temperature; very low RH is generally not practical at high temperatures. |
| Cyclic Damp Heat | Repeated temperature and humidity cycles, often including condensation during the cooling phase. | Programmable temperature and humidity profiles, rapid enough recovery, condensate drainage, and data logging. | Use a controller capable of storing multi-step programs with repeat cycles and defined dwell times. | IEC 60068-2-30 | Check whether the test requires condensation on the specimen and whether the chamber can reproduce the specified cycle accurately. |
| Temperature Cycling | Repeated transitions between low and high temperatures, such as −20°C to +70°C. | Adequate cooling and heating power, controlled ramp rate, uniform airflow, and programmable transition times. | Specify the required ramp rate in °C/min based on the product standard and sample mass. | IEC 60068-2-14 | A large load or dense product arrangement can slow temperature changes; define the load profile before sizing the chamber. |
| Combined Temperature and Humidity Cycling | Alternating hot, cold, dry, and humid stages within one programmed sequence. | Integrated temperature and RH control, recipe management, reliable sensor calibration, and recovery monitoring. | Select a chamber with independent control of temperature and humidity and sufficient program memory. | IEC 60068-2-38 | Review the complete profile, including dwell periods, transitions, humidity limits, and the number of repetitions. |
| Product Reliability and Life Testing | Long-duration exposure under representative operating conditions, often with powered samples. | High continuous-duty reliability, sample power feedthroughs, safety interlocks, alarm handling, and remote data access. | Size the chamber for continuous operation at the worst-case product heat load, not only for empty-chamber performance. | Product-specific requirements | Calculate the total electrical heat dissipation of all energized samples and include it in the thermal load calculation. |
| Packaging and Material Conditioning | Preconditioning at controlled temperature and humidity before mechanical, dimensional, or performance testing. | Stable air circulation, sufficient usable floor area, adjustable racks, easy loading access, and uniform conditions. | Common conditioning environments include 23°C and 50% RH, depending on the applicable product method. | ASTM D4332 | Use the required package quantity, pallet dimensions, and airflow clearance to determine the internal chamber volume. |
| Automotive Environmental Testing | Temperature and humidity exposure reflecting vehicle storage, operation, and climatic conditions. | Wide temperature range, powered test capability, cable ports, safety monitoring, and programmable environmental sequences. | Define the vehicle component’s required temperature, humidity, dwell time, cycling, and operating state before specification. | ISO 16750-4 | The required profile varies significantly by component location and vehicle application; do not select a chamber from temperature range alone. |
| Corrosion-Related Environmental Exposure | Warm, humid, or cyclic moisture conditions that may accelerate corrosion or material degradation. | Humidity stability, corrosion-resistant chamber materials, drainage, cleanability, and separation from salt-spray equipment where applicable. | Specify the required temperature, RH, condensation behavior, exposure duration, and contaminant type separately. | IEC 60068-2-52 | A climate chamber is not automatically a salt-spray chamber; verify compatibility with any corrosive chemicals or salt solutions. |
| Large or Heavy Product Testing | Environmental exposure of assembled products, machinery, cabinets, or multiple units simultaneously. | Structural floor loading, door dimensions, internal clearance, forklift access, reinforced racks, and adequate airflow around the load. | Allow clearance around samples for air circulation and safe operator access; use the product’s maximum footprint and weight for sizing. | Application-specific | The chamber’s usable working volume is smaller than its external dimensions because of insulation, equipment spaces, and airflow requirements. |
| Fast Temperature Recovery | Frequent door opening, high sample heat load, or short intervals between test stages. | High refrigeration and heating capacity, strong air circulation, suitable door design, and recovery-time measurement. | Request recovery data using the intended sample load and test temperature, rather than relying on empty-chamber specifications. | Project-specific | Recovery performance is affected by sample mass, product heat generation, door-open time, ambient temperature, and humidity load. |
FAQS
Measure the largest test article, fixtures, cables, and airflow clearance. A narrow doorway can still block delivery. Leave working space around the chamber for staff and maintenance.
Check door width, threshold height, ramp access, and turning space. A real crate or cart can reveal problems. Do not rely only on a floor plan.
Confirm ceiling height, floor loading, drainage, ventilation, and electrical capacity. Large panels may require temporary door removal or lifting equipment. Small oversights become expensive changes.
A single door may suit a small team and simple loading. Dual doors can improve loading routes and emergency exit options. The best choice depends on daily movement.
An oversized chamber may waste energy and increase recovery time. An undersized chamber can restrict airflow around specimens. More space is not always better.
Request energy data at your expected temperature and humidity settings. Check standby power, cooling demand, and humidity control separately. Lowest-temperature ratings may not reflect daily use.
Inspect access to filters, sensors, humidifiers, drains, and refrigeration components. Easy access can shorten service time and downtime. Keep spare sensors and seals nearby. They are small costs.
Include purchase, installation, energy, calibration, repairs, training, and disposal. Compare five-year estimates using your actual weekly test frequency. One estimate is not enough. I would review warranty exclusions carefully, because planning is rarely perfect.
Conclusion
Choosing the right Walk-In Climate Test Chamber begins with clearly defining your testing goals, including the products, materials, or systems to be evaluated and the environmental conditions they must withstand. Consider the required temperature and humidity ranges, exposure duration, change rates, and test accuracy. Chamber size, door access, interior layout, loading methods, and installation space should also match current and future testing needs.
A careful evaluation should include control precision, monitoring functions, safety features, and applicable compliance standards. Energy efficiency, maintenance access, component durability, calibration requirements, and technical support can significantly affect long-term operating costs. Comparing the initial purchase price with energy consumption, servicing, downtime, and expected service life will provide a more realistic total cost assessment. By balancing performance, usability, safety, and lifecycle value, organizations can select a chamber that supports reliable testing while remaining practical and cost-effective.